Get started with your new airlogOne

When you unbox your new airlogOne, you will find the device, a printed quick start guide, a USB-C cable and the important Login Card.

This page will guide you through the setup procedure for your first jump and your first sync with the cloud app.

Lets go!

config the device

start with charging the device
connect the supplied USB-C cable into the unit and the USB-A connector into a 5V wall charger. Give it a charge of minimum 30min. Plugging into the charger is also necessary, once the battery has been automatically switched off by the discharge safety circuit.
Press "M", goto "configuration"
Press and hold the M button until “Configuration” is shown in the display. Release the button. You can step through the config page with the OK (middle) button. Adjust the values as needed
set timezone, units and autostart
Find your time zone at https://www.timeanddate.com/time/map/ You can choose "m" or "ft" for the altitude display. All other units are set via the Web config page. "Autostart" altitude is the altitude that starts detailed tracking automatically (currently only in meters)
save the settings and restart
Once your throught all fields with the OK button, the config values are stored and the device restarts using the new configuration ATTENTION: if the device is configured via the website, the internal configuration will be overwritten.

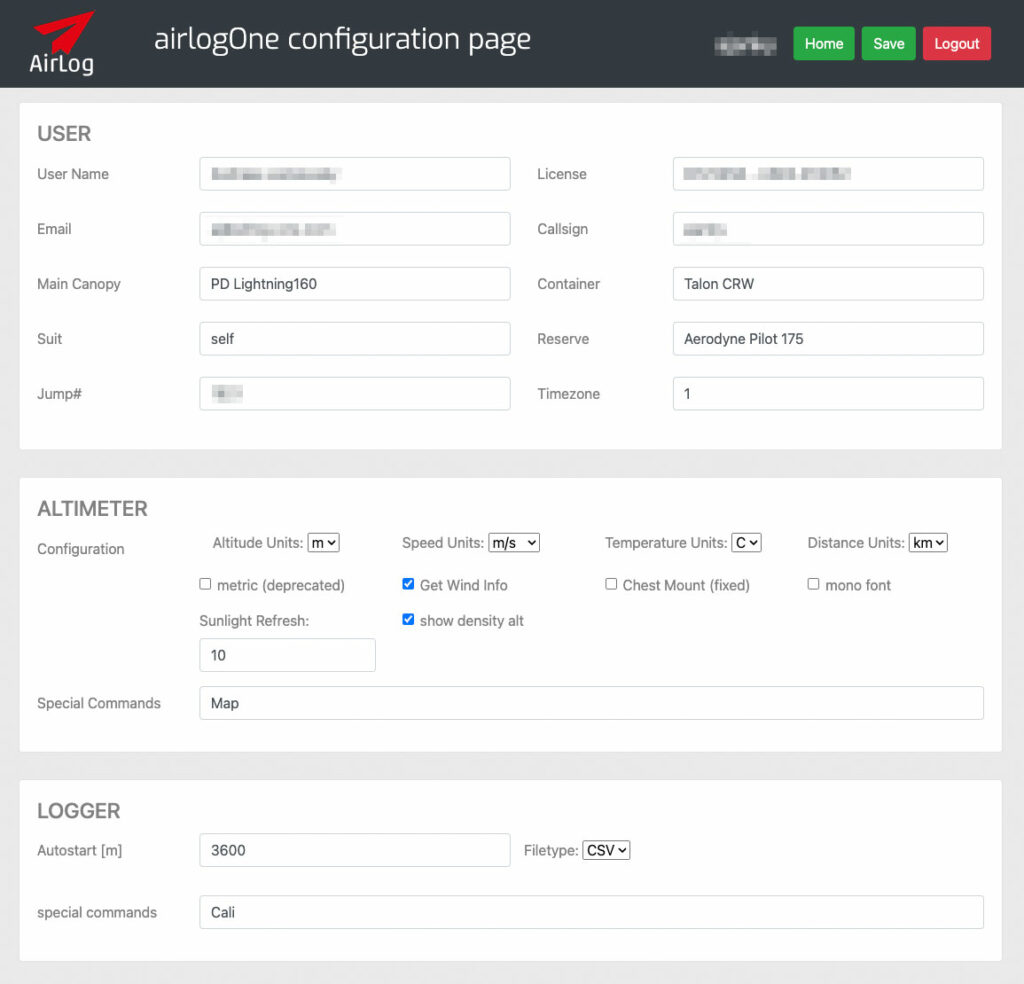
connect to airlog.app

You can skip this section if you want to collect jump data first.

To completely set-up your device, the connection to the airlog.app config page is necessary, as more information about you and your device is collected here. This info is necessary to automatically write your online logbook.

Remember: Online configuration overrides device configuration
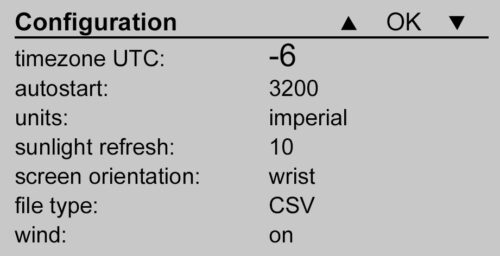
setup your WiFi
Press and hold the M button until “WEB MODE” is shown in the display. Release the button. The airlogOne tries to connect to a known WiFi. If it never had a Wifi connection at this place, after a while it will open a WiFi AccessPoint (airlogOne AP) – this allows you to connect the WiFi spun out by the device. Follow the instructions on your browser pop-up to store the Wifi credentials of your home network
log in into airlog.app
Once your connection is working, the airlogOne will sync with the airlog.app cloud. Open the airlog.app website (https://airlog.app) and log-in using the credentials provided on your Hello Card in the box
update the airlog config page
in the airlog.app dashboard, go to the “config” page (button upper right). Here you can setup your device in detail and add all necessary data for the logbook. Remember that the online setup overwrites the settings from the device setup.
resync the device
keep the device online or enable the WiFi (WEB MODE) again to update the new configuration in the device. You’re done.

chest or wrist?

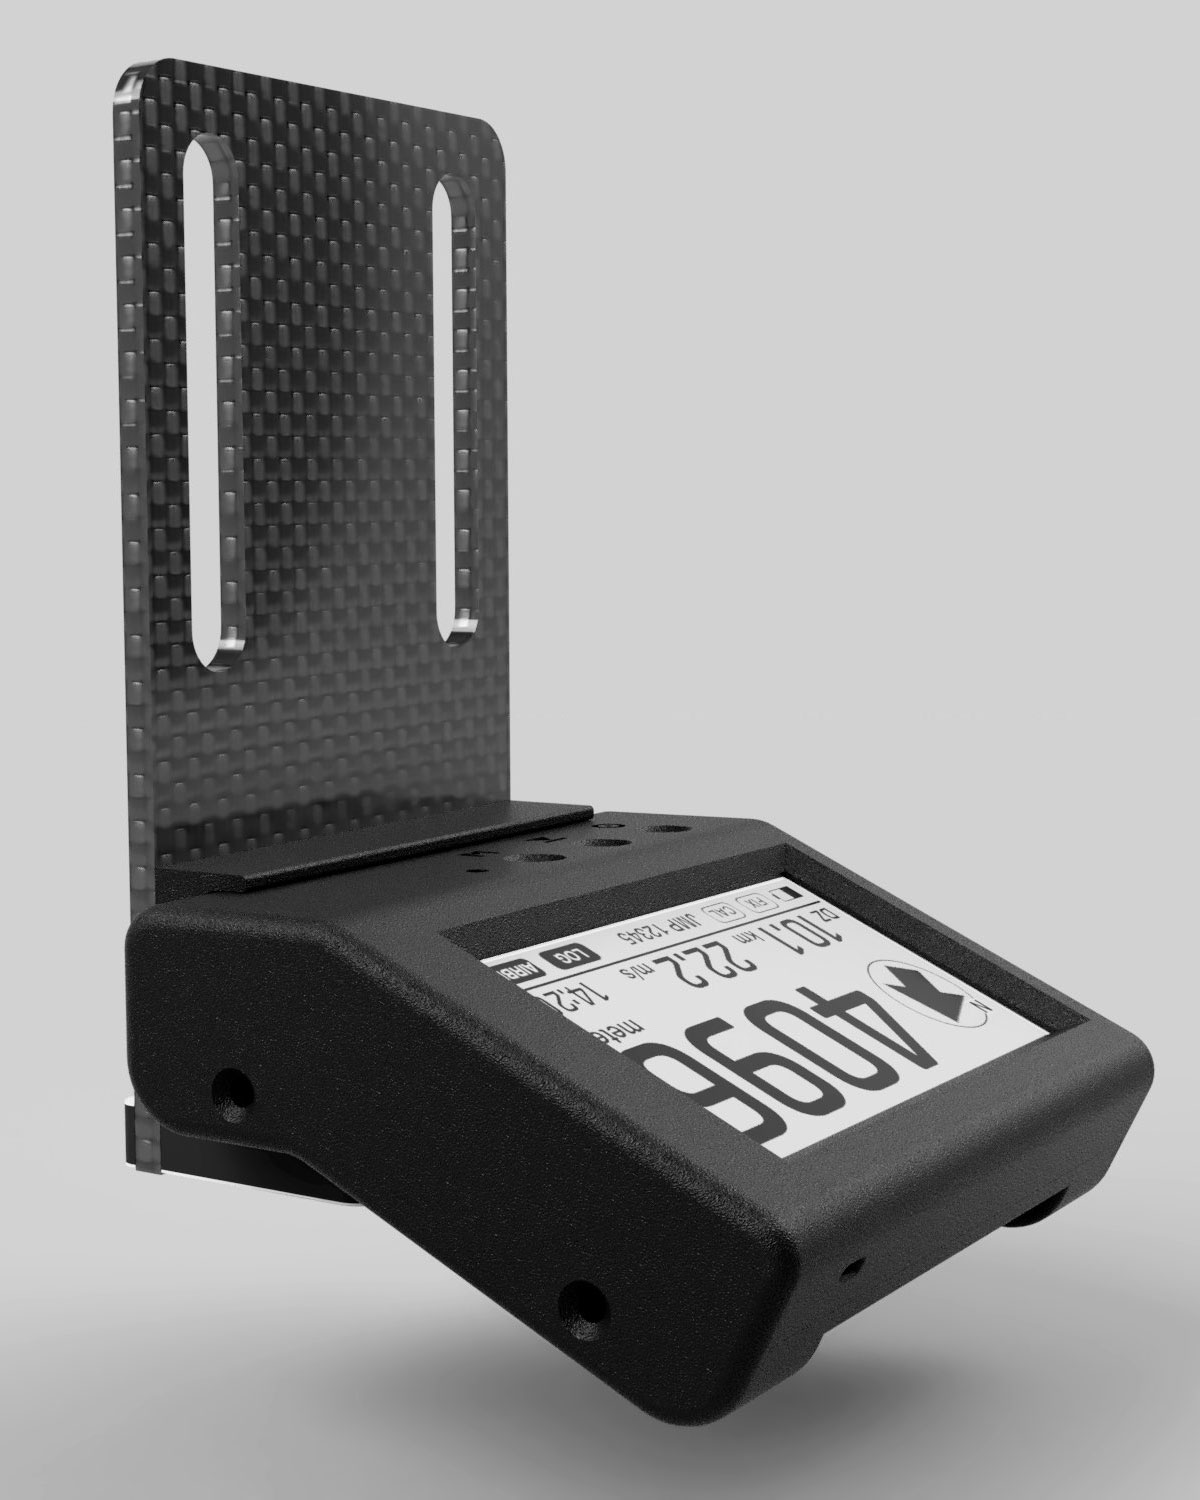
the airlogOne has two operating modes: wrist or chest. Or in other words: mobile and fixed. 

When mounted on the wrist the device has always changing orientations. This is fine for altitude, speed and GPS tracks, but its hard to measure accelerations and turns, since they don’t differ from moving the arm.

When the device is attached to a fixed position (chest, mud flap), the orientation detector (AHRS) inside the device reflects the orientation change of the entire jumper, providing much deeper insight into cause and effect.

Changing the operating mode rotates the entire screen, making it easier to read on the chest strap.

wrist ist standard mode
this is the default orientation. You can use the device on your left or right hand, whatever you like.
change in config to: chest
rotates the screen, the buttons are in the direction of the chest strap, close to the body. The screen also shows the north direction

adjust your band

Make sure the airlogOne is securely attached to your arm. 

If you use the device mainly as a tracker, you can position it anywhere on your body.  For altimeter use, you should have good view to the display.

The wrist strap can be exchanged easily if worn out or for special occasions.
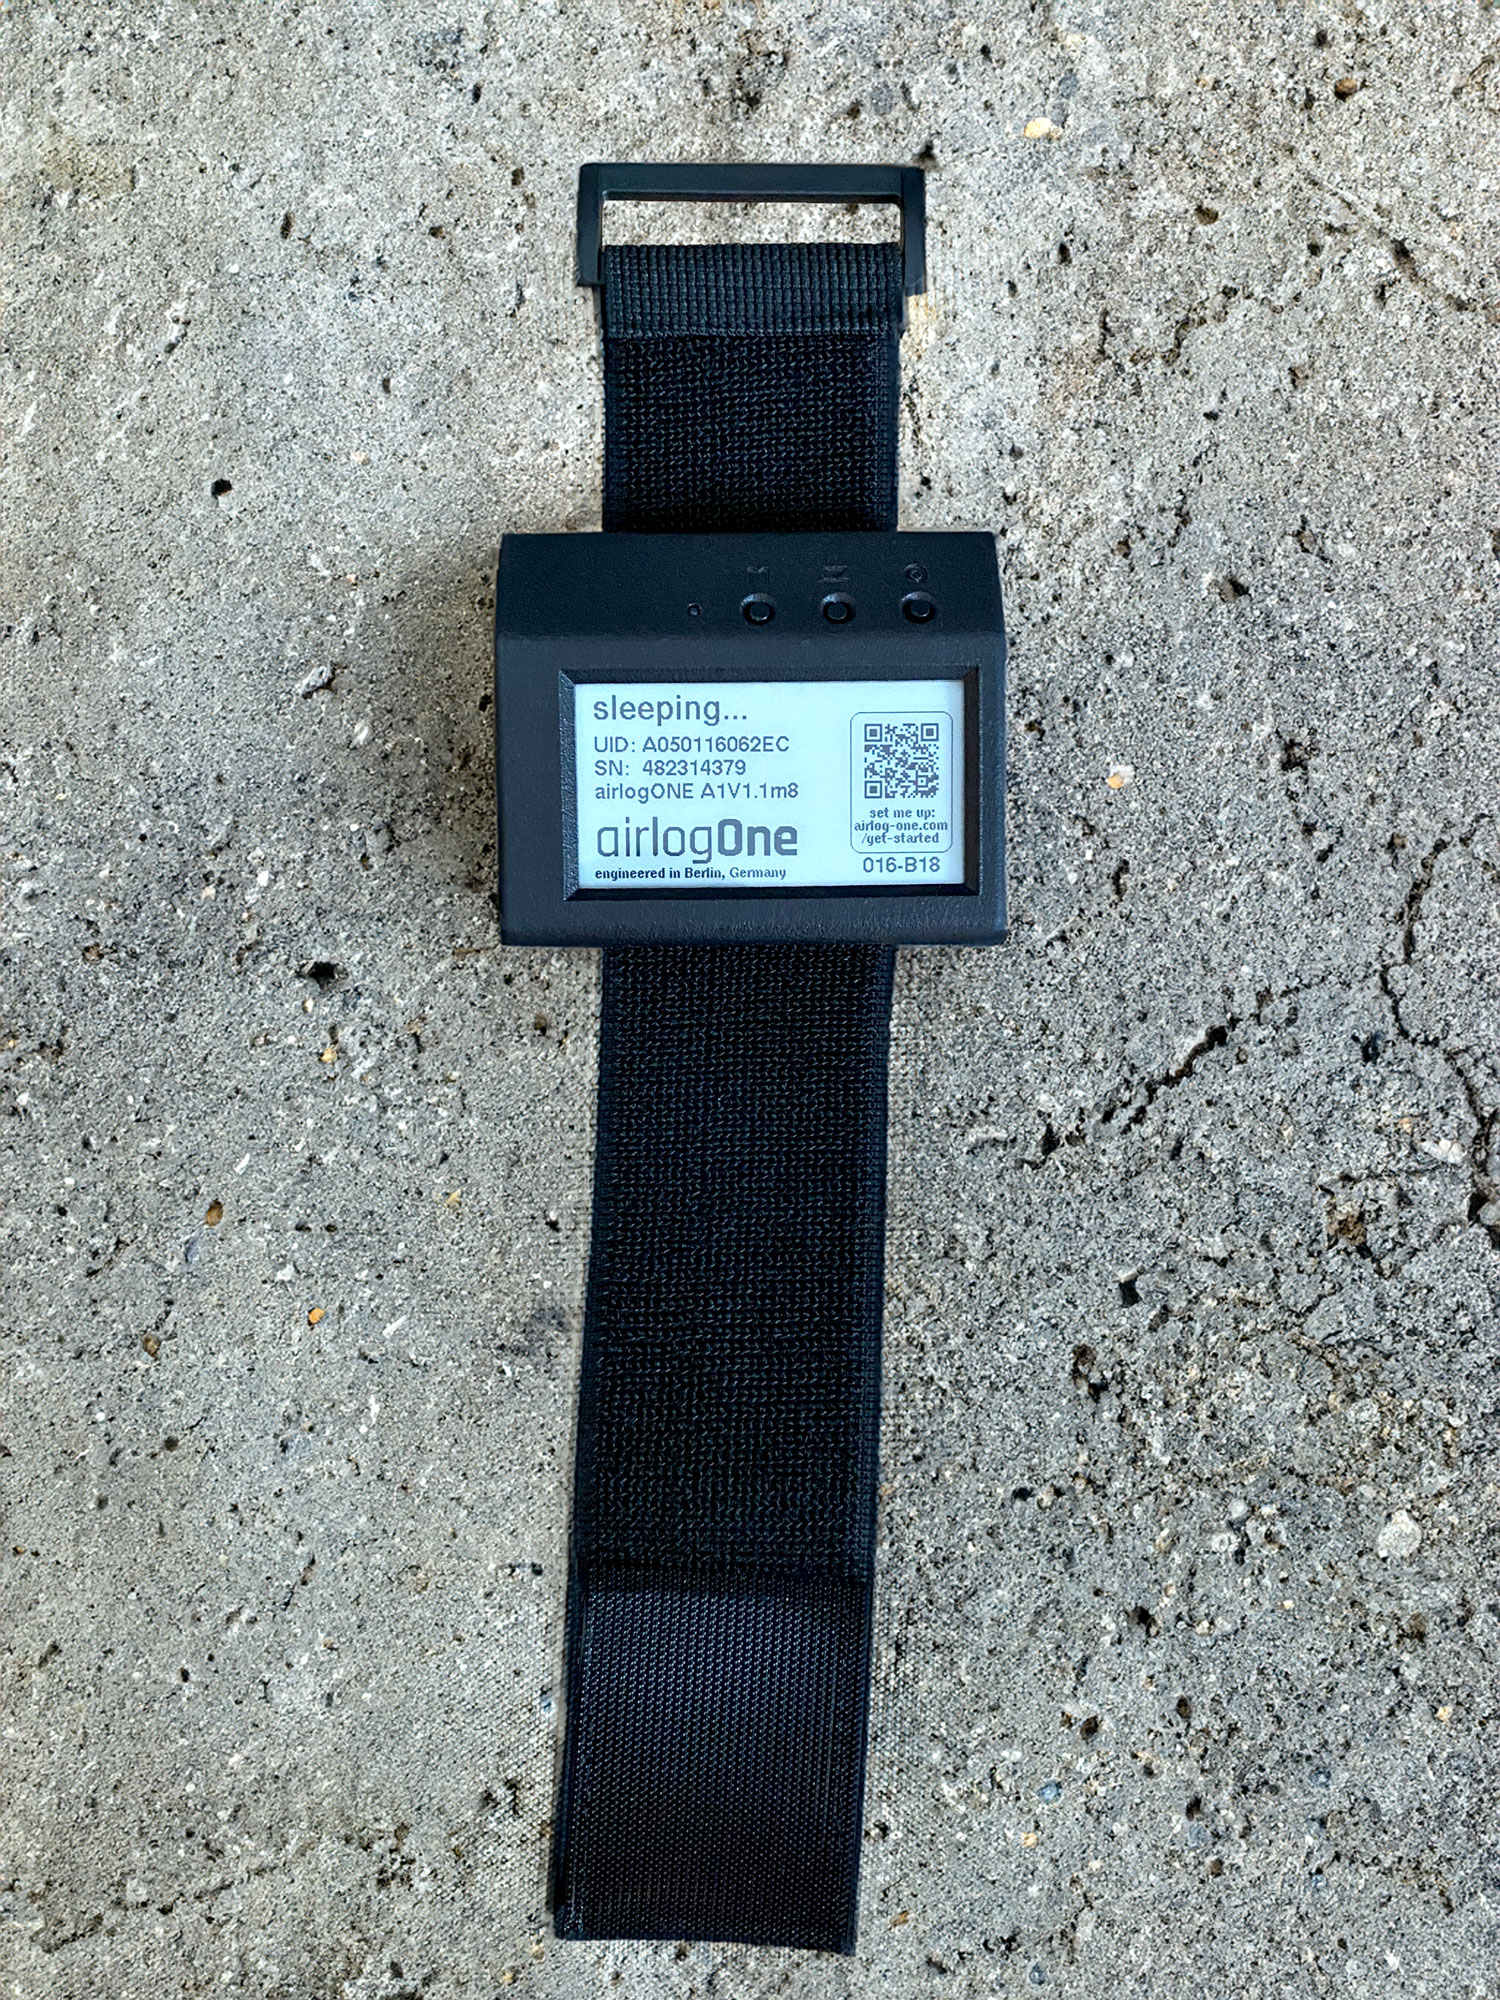
 

sleep mode

after 1 hr of non-use (no button pressed, no AIBRN) the airlogOne switches into "sleep mode". All sensors plus the display are switched off to save energy. For identification, on the screen is shown your "callsign" and your last jump#

To wake up again, press the M button once and the device wakes up, hot-starts GPS and sets zero GND position.
(HOME position is kept during the same day, if set before)

Make it a habit to press any button shortly to reset the sleep counter when you gear up, to keep the device from sleeping within the next hour.

get manifested

You’re now ready to go!

– make sure to power-up the airlogOne (press button M) to get a GPS fix on ground.

Set the landing point by pressing the target button for more than 2s. (Zero Altitude and SetDZ only works while near ground)